If you’re like me, you want to get to the point and not read a lot of fluff. In lieu of providing you with an anecdote of Aunt Paula’s trusted strategy to pick the best watermelon, let’s jump right in to the project.
Before we begin, however, please note we are preparing our interior floor for tile on our existing subfloor. There are different materials needed for wet areas like a shower floor or wall or application onto concrete.
Materials Needed:
- Polymer-modified Thinset (we used this)
- Cement Backerboard (and this)
- Cement board screws (also this)
- Cement board joint tape (this)
- 1/4″ Notched trowel
- Utility knife
- 5-gallon bucket
- Mixing Paddle
- Drill (fully charged batteries!)
- PPE! (gloves, dust respirator and eye protection)
Overview of what is about to👏 go 👏 down👏: Layout the cement board / mix thinset / apply thinset to subfloor / lay cement board down / screw in place / tape joints.
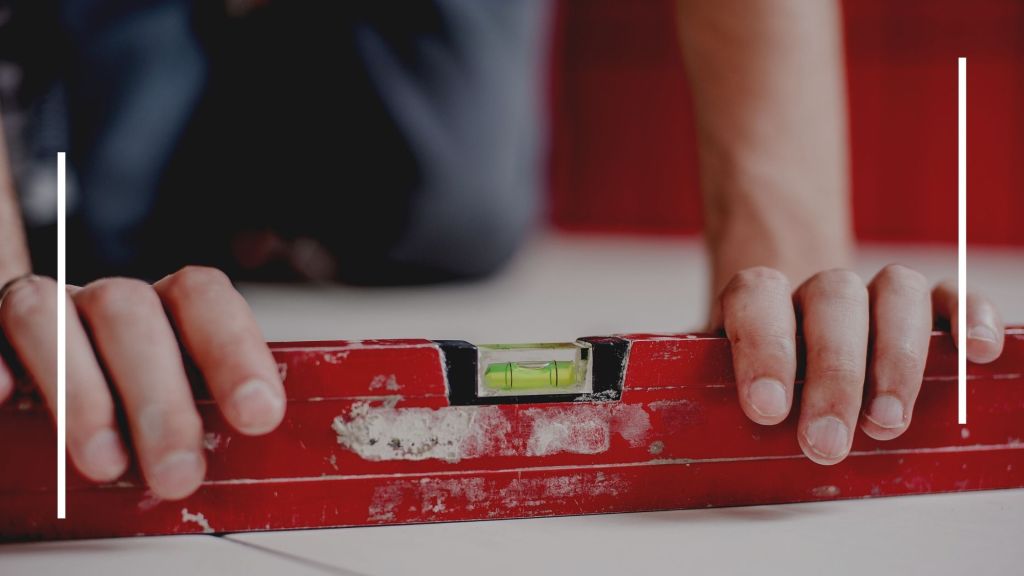
A sturdy, immobile foundation for your tile is one of the most, if not the most important part of installation. To create this foundation, we want a clean, level subfloor to begin with. You may need to replace the plywood subfloor or tighten screws. The thinset mortar will adhere the cement board to the subfloor. Check to be sure it is level throughout the process.
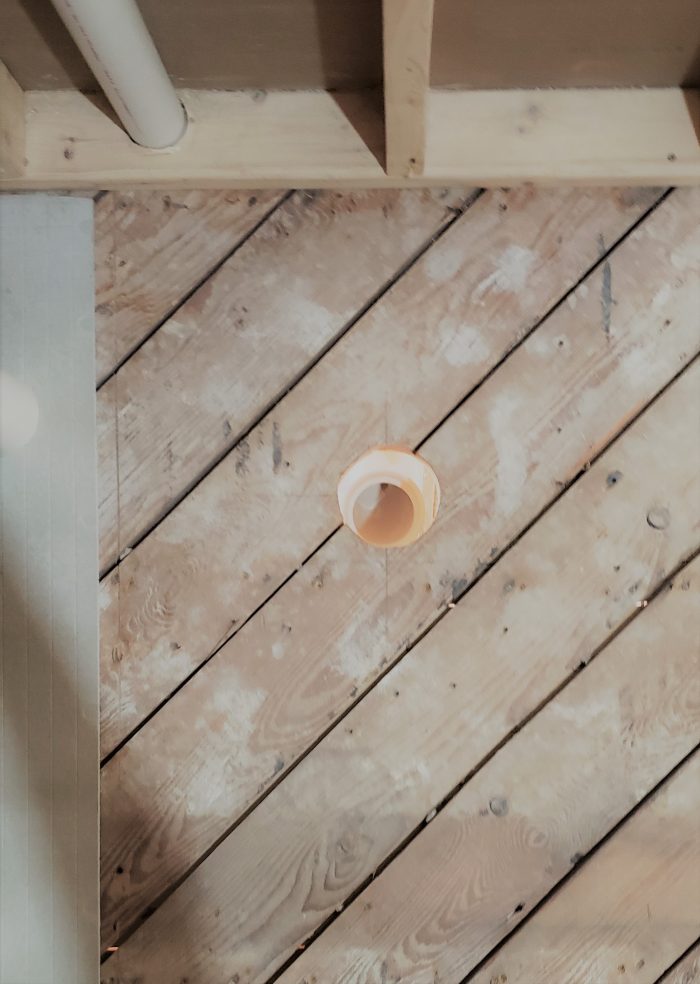
Start by laying out your sheets of backer board. 1. Be sure to arrange across the subfloor so the subfloor joints are not aligned with the backerboard joint. Also ensure that no 4 corners are touching – arrange in a staggered pattern, like bricks, leaving about 1/8” from edges. To make cuts, use your utility knife to score the board multiple times then snap off the cuts. If you need to make a hole within the board, make your cuts AND score in a diagonal pattern like you’re cutting a pizza, then knock the center of the hole out and clean the edges. Easy peazy.
Thinset Time!!
Think of mixing thinset like making dough. 2. Use the measured ingredients, follow the instructions on the bag, don’t overmix and do not add water after it’s mixed. Follow the instructions on mixing your bag of thinset and work in small batches. I suggest mixing ½ bag per batch because that will cover the floor for one sheet of cement board. Attach the mixing paddle to your drill and blend at a low speed (you could mix with your trowel). Add water if needed. You want your mixture to have the consistency of a Cookout milkshake – the kind you can’t get through your straw. It should be wet enough to sling it off your trowel but dry enough to not drip off your trowel.
Note: Our home was built in the 1950’s and our subfloor is made of 1×6’s and not plywood sheets like homes now. If this is your situation too, I advise you to glue and nail a layer of ½” plywood to your subfloor slats.
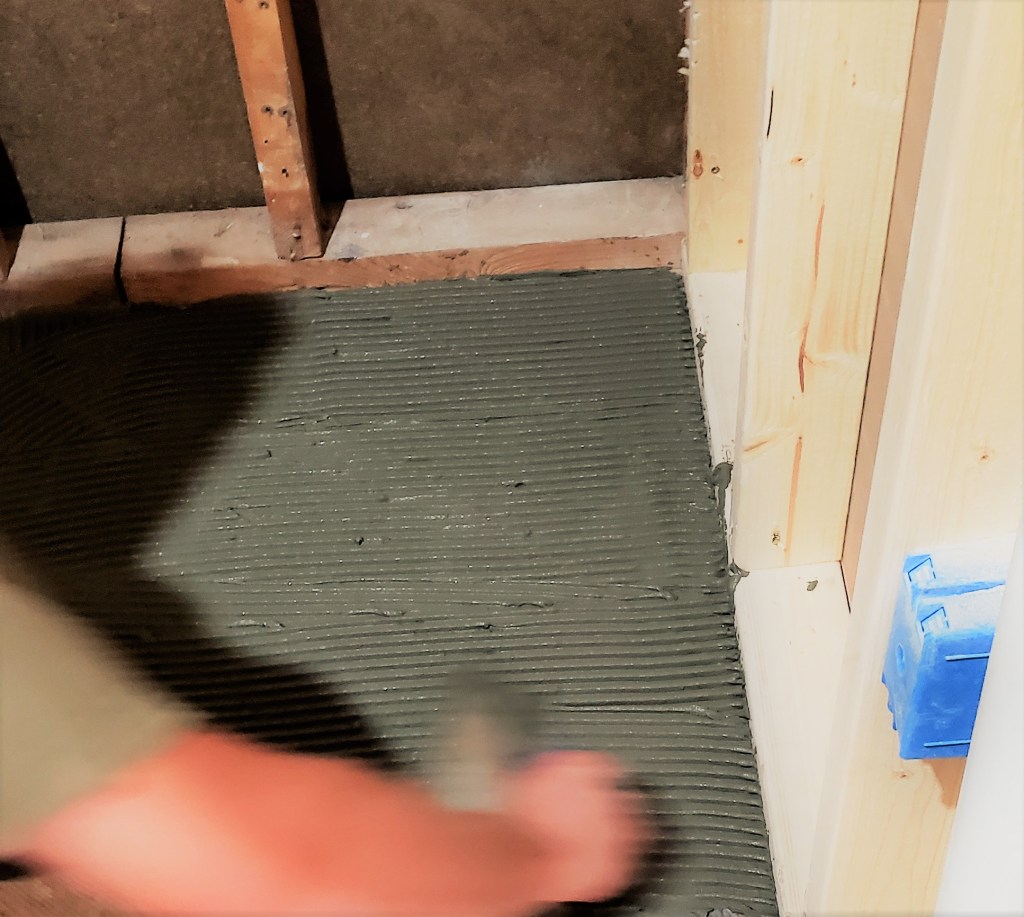
Glob it! 3. When your thinset is ready, meaning it’s mixed, sat for 10 minutes then mixed once more, use your trowel and glob it on the floor. Use the straight edge of the trowel to scrape it across the floor, filling any cracks (in our case big gaps). Smear the thinset across the area you are placing one backerboard sheet 3/16” thick. Using the notched side of your trowel, scrape across the thinset at a 45-degree angle to create solid, square ridges. This will reveal where more thinset is needed. Where ever you are not getting a solid fill from your trowel, add more thinset. Place your cement board back down from whence it came and mush into place. Make sure it’s even!
Screw in place 4. In your box of screws, you will find a lovely little drill bit. Add this to your drill and screw the board down. Screws will be about 8” apart. The board has flat circles that indicate the placement of the screws. You will have some pieces where you cut your screw hole map off. Fear not! You must screw down the edges. But not too close because it will easily crack. Add screws 3/8” – ¾”” from the edge and 2” from corners. The heads of the screws should be flush with the top of the board, without overdriving them.

Keep going! 5. Repeat these steps for each board. Fill the joints with the thinset mix (remember: we place them 1/8” apart!) then press the joint tape across the filled joints. Let dry!


Leave a comment