
Is it “curtains” or “drapes”? Honestly, most designers and decorators use these words interchangeably. I usually say drapes or draperies, but that’s me being fancy. Use either and we all know what you mean.
Custom window treatments bring softness and elegance to a space and make a huge impact in your room. Anything custom comes with a price, of course. For two panels with no bells and whistles, expect to spend $250+ at a minimum. If this is not in the budget for you and you have the tiniest amount of DIY gumption, you need this hack.
🤓Is it strange that I’m really excited to share these tips?
I see this struggle a lot in people’s homes and I can’t blame them. Store-bought curtain panels come in standard lengths of 84″, 96″ and 108″. This is just plain stupid. You have no choice but to hang your draperies at the top of the window, resulting in a sad face, squatty-looking window. The average ceiling height of homes built today is 9 feet high or 108″, while earlier homes have ceiling heights of 8 feet or 96″. You may think, “That’s the length of the curtains! Perfect!” However, unless you’re attaching your drapes to the ceiling, no, it’s not perfect.
☕Get your coffee and let’s get started
Hang Draperies Higher Than Your Window
You don’t need mathematical rules or formulas to give you an exact drapery placement for every ceiling height. What I’m sharing regarding placement is a rule-of-thumb, so you can opt for an inch higher, 2 inches lower, whatever YOU want! There are many many details that go into window treatments but this is by far the simplest and most effective hack to get your designer look.
Follow my example and make adjustments based on your wants and needs.
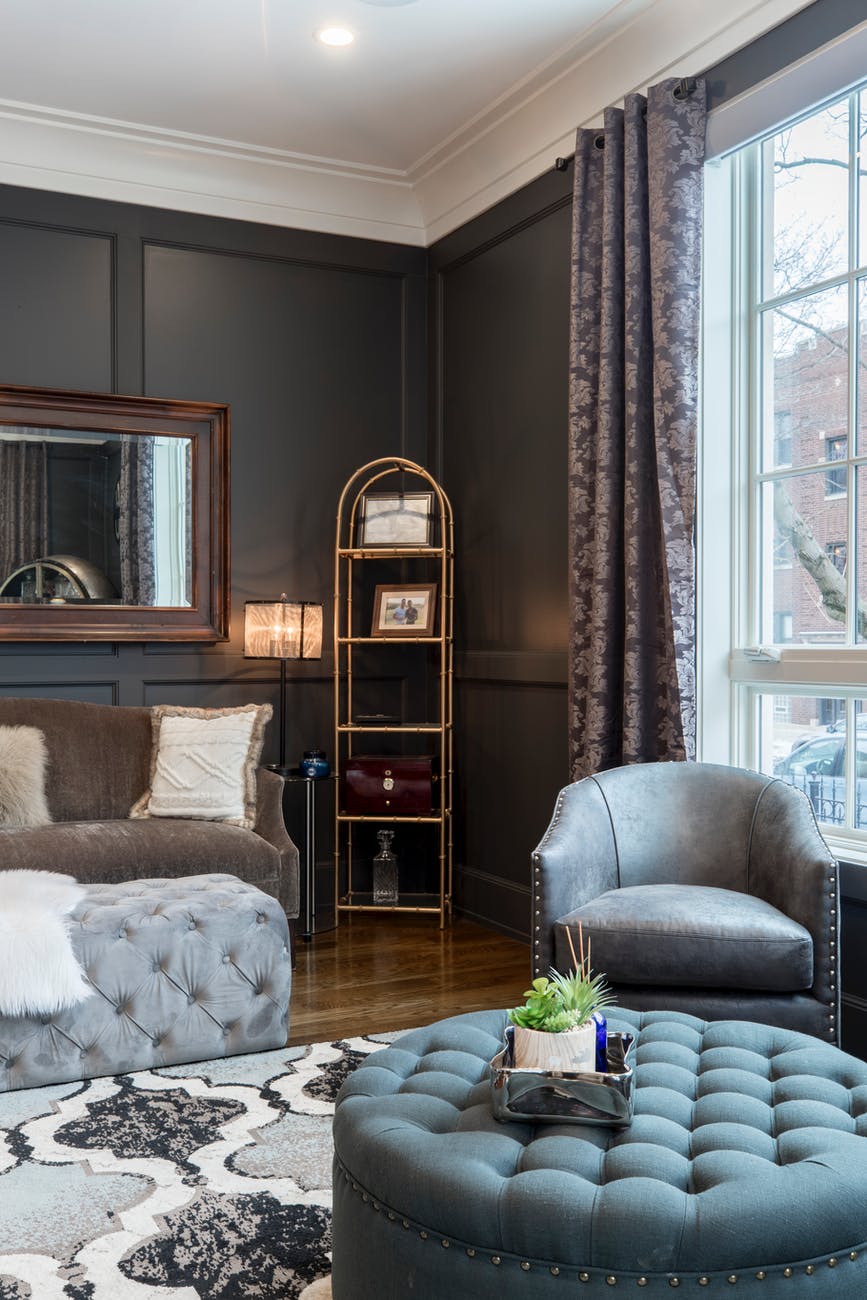
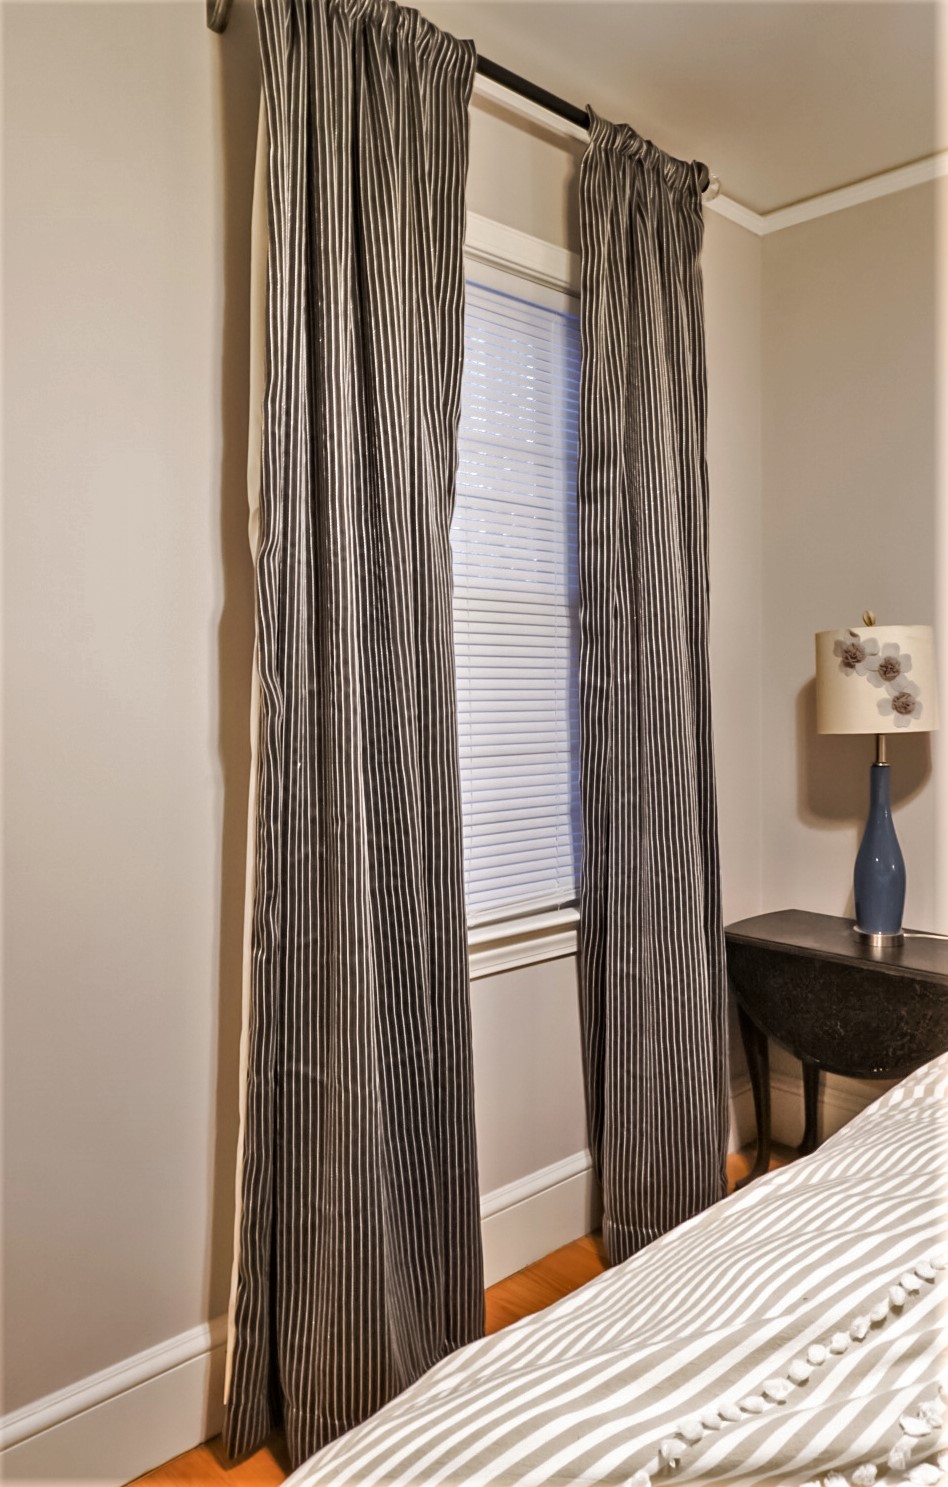
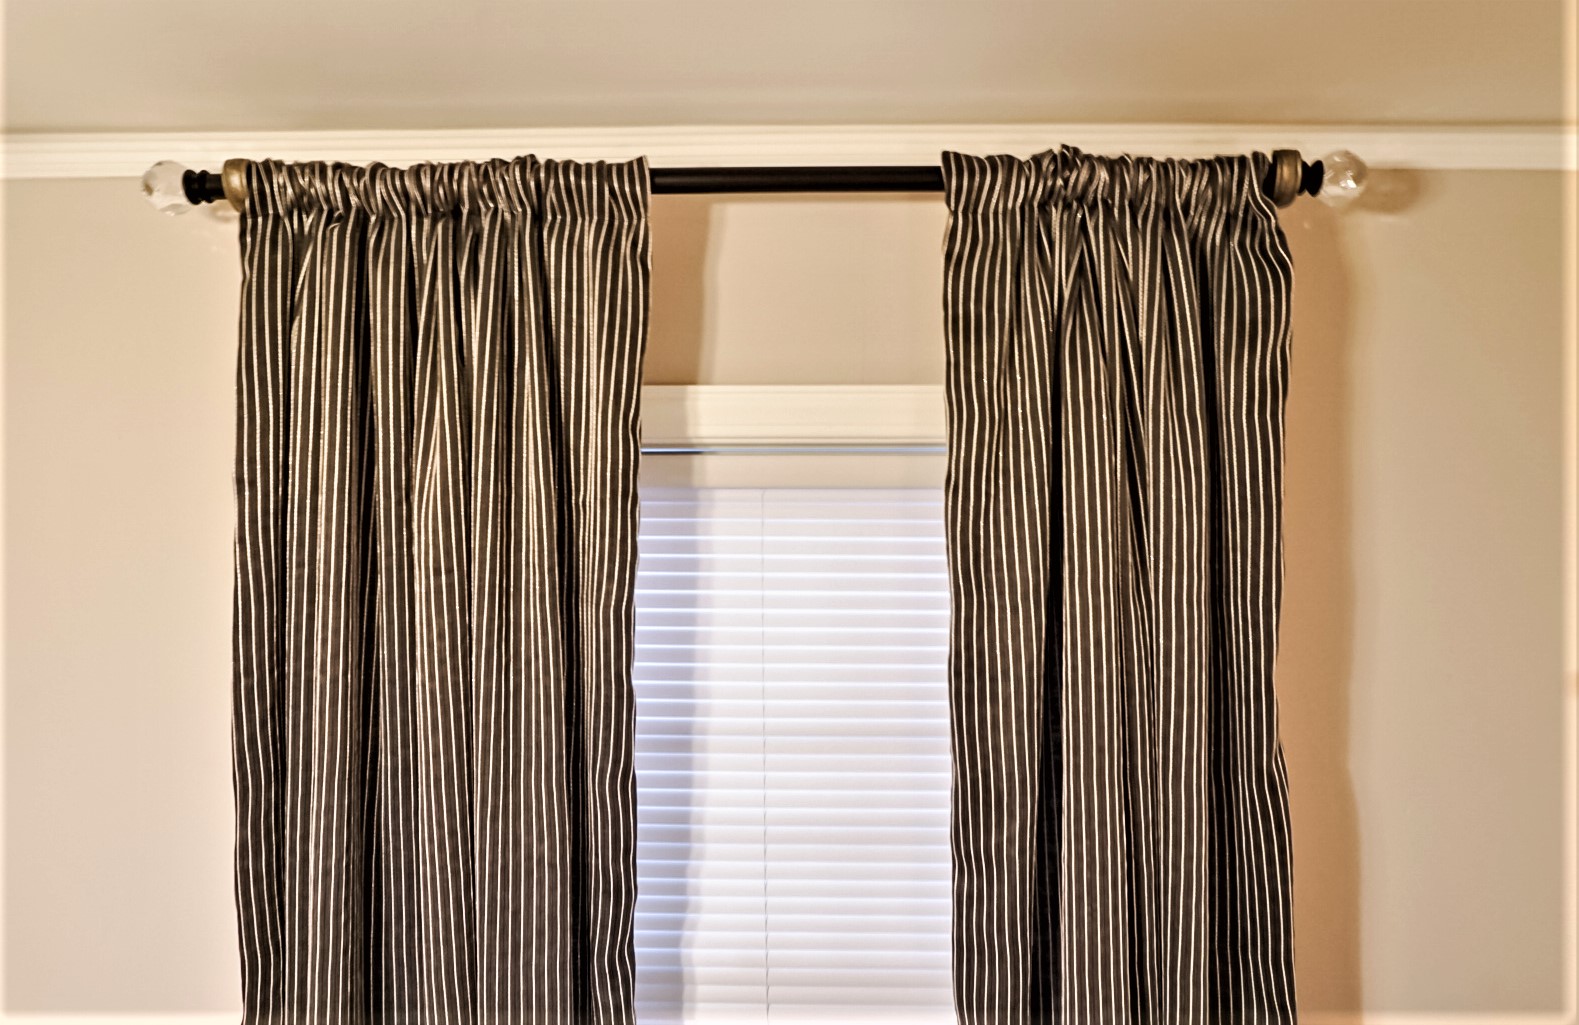
The window treatments in my example project are for a little girl’s Bohemian inspired bedroom. My client’s room has 8′ ceilings and one window in need of treatments. I wanted two panels, one on either side of the window, and I wanted them to hang well above the window and barely touch or “kiss” the floor. I allowed space between the 4″ tall crown and the crystal finials to let the finials shine. Literally and figuratively. Ninety inches from the floor was a great height and I was determined to make that happen on the cheap.
Straight to Target.com I went for my one-stop-shop. I purchased my crystal curtain rod (wider than my window) and a pack of 2 curtain panels that were 96″ long. It’s important that you have two panels. Sure the width of one panel may cover a standard window, but you do not cover a window with one panel; it takes two. There are instances where one panel will work but that’s another article.
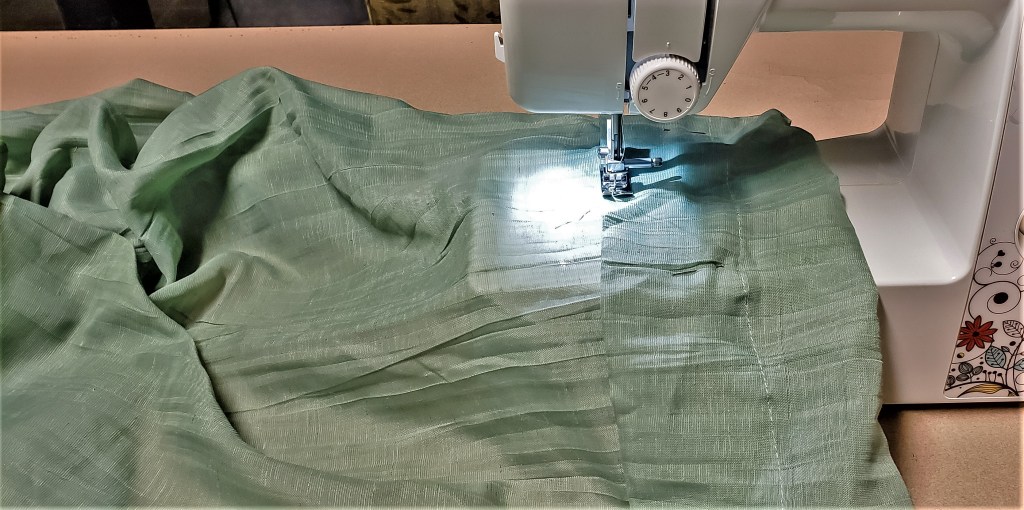
After measuring my store-bought panels, they were just shy of true 96″. Cool; don’t need it anyway. Along the bottom edge of the panels I measured 5″ and made a mark every 8″ or so. Then I folded the bottom of the panel up to the 5″ mark and pinned it together all along the bottom edge ensuring the edge was square and straight. No scissors needed! I loaded my sewing machine with thread that very closely matched the drapes and stitched it up! I hemmed close to where I pinned the fabric together leaving a 2 1/8″ hem on the bottom of the panels. This was about an 1/8″ from the edge of the fabric. I am a mediocre seamstress, at best, and this only took 20 minutes of work per panel.
Then I thought to myself, “Self, you did a great job. This is exactly what you needed and I’m very surprised because your sewing skills are lacking. But why not add a little extra something-something”? Okay, Self, I got you (er…me).
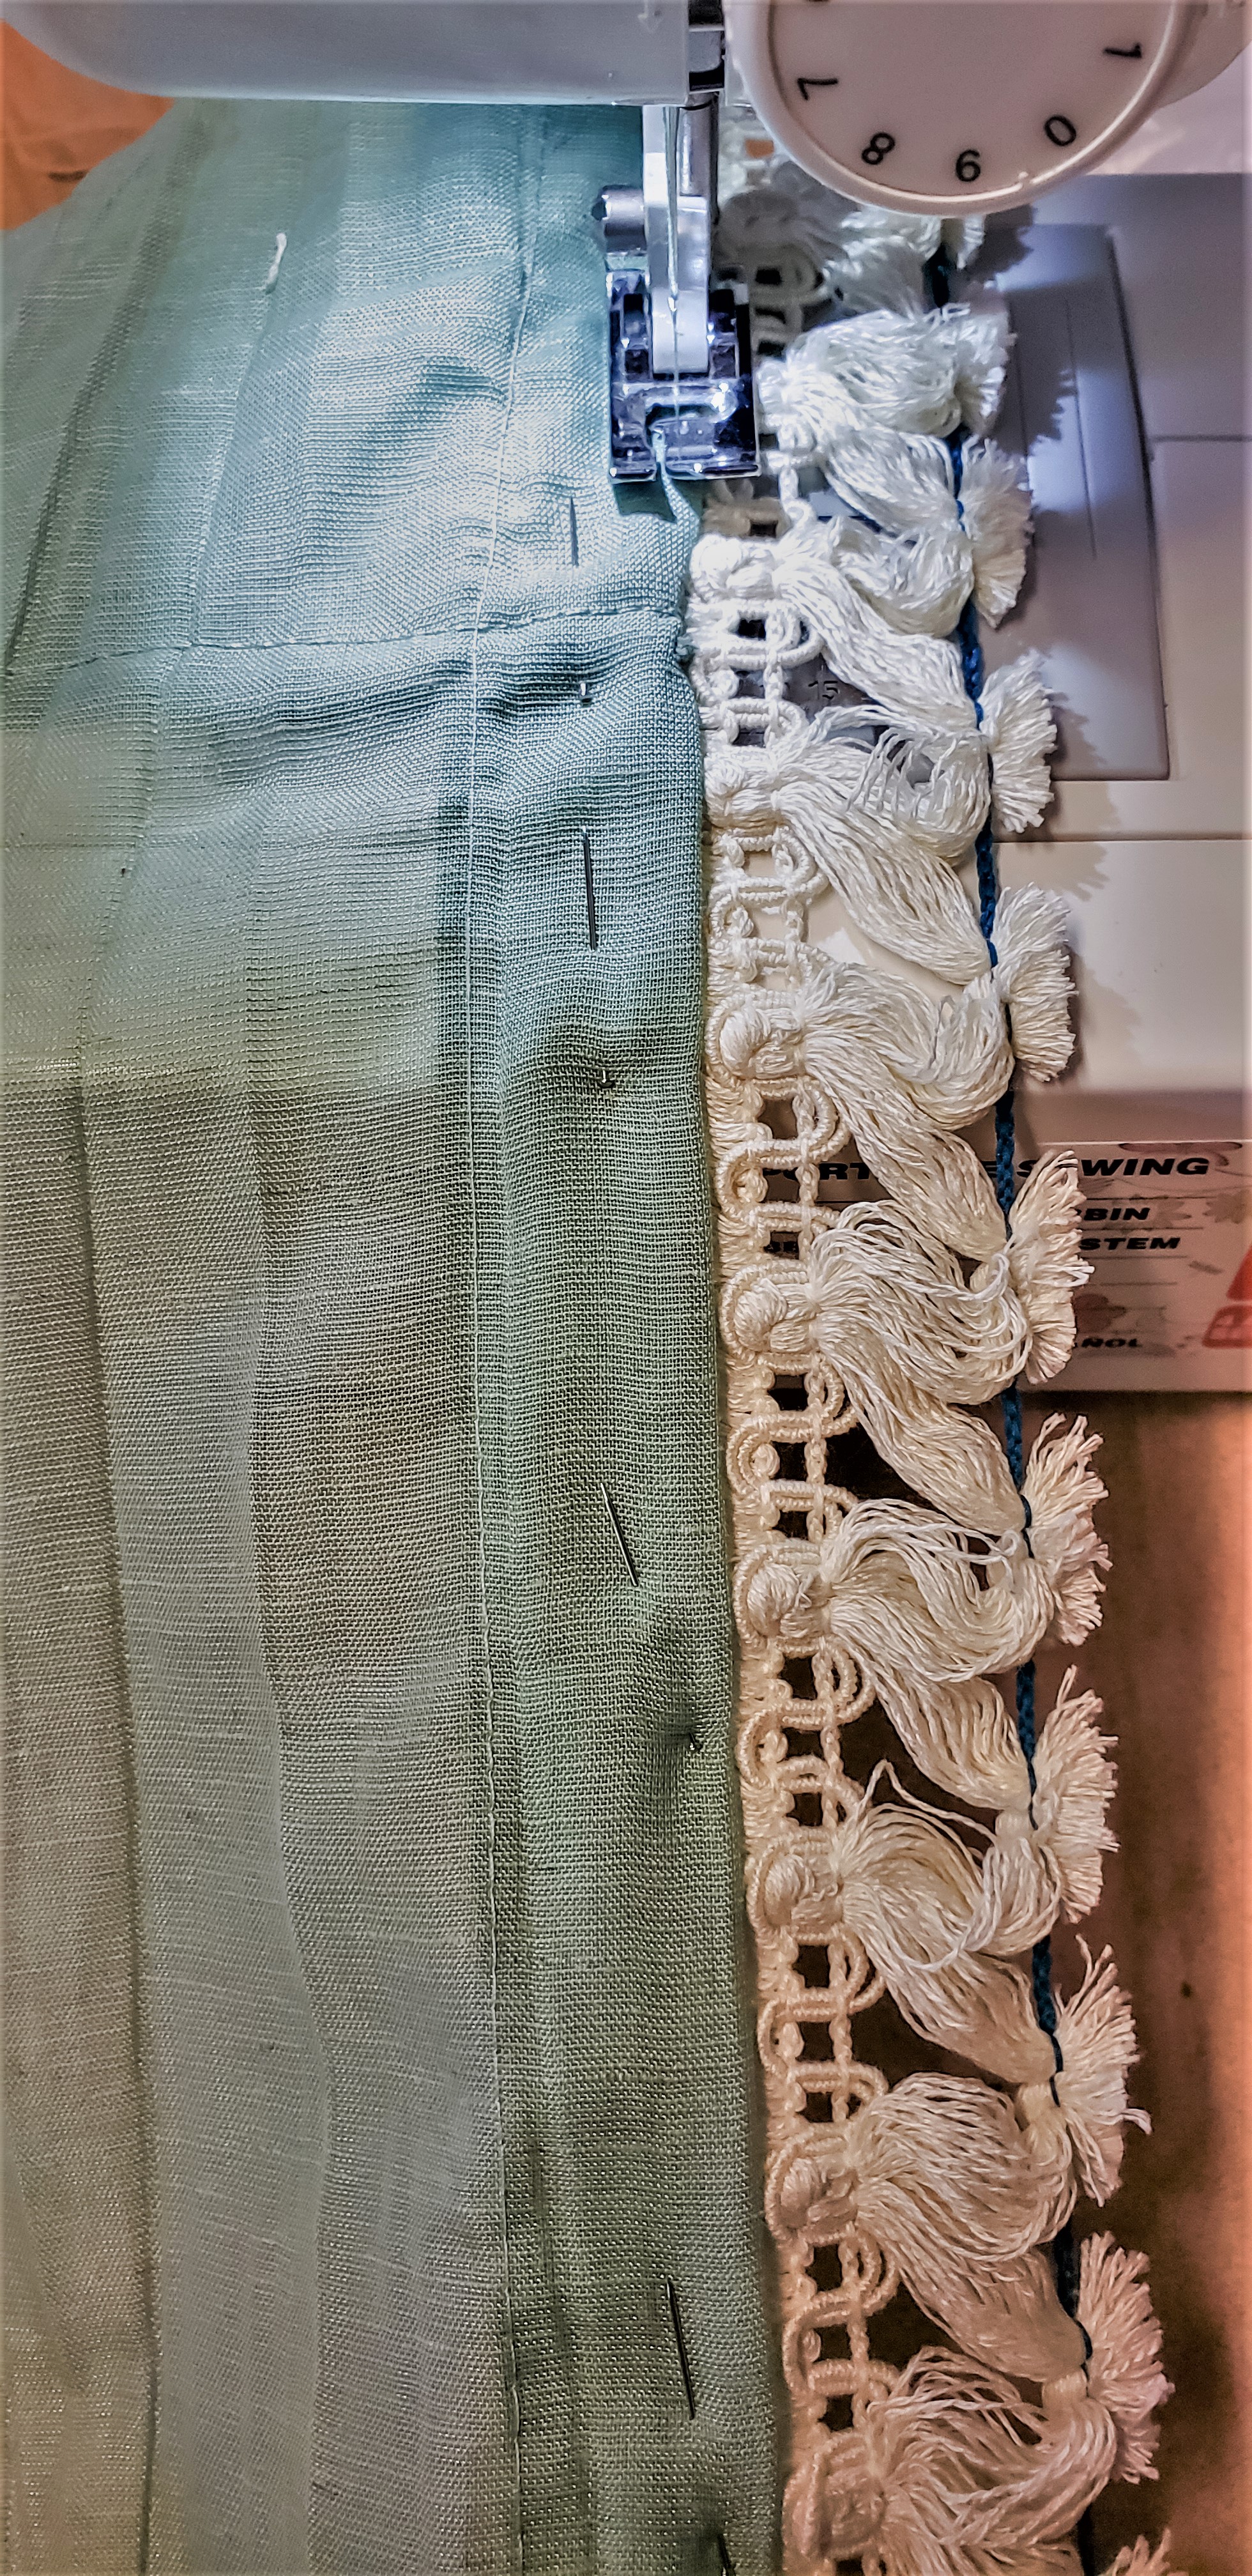
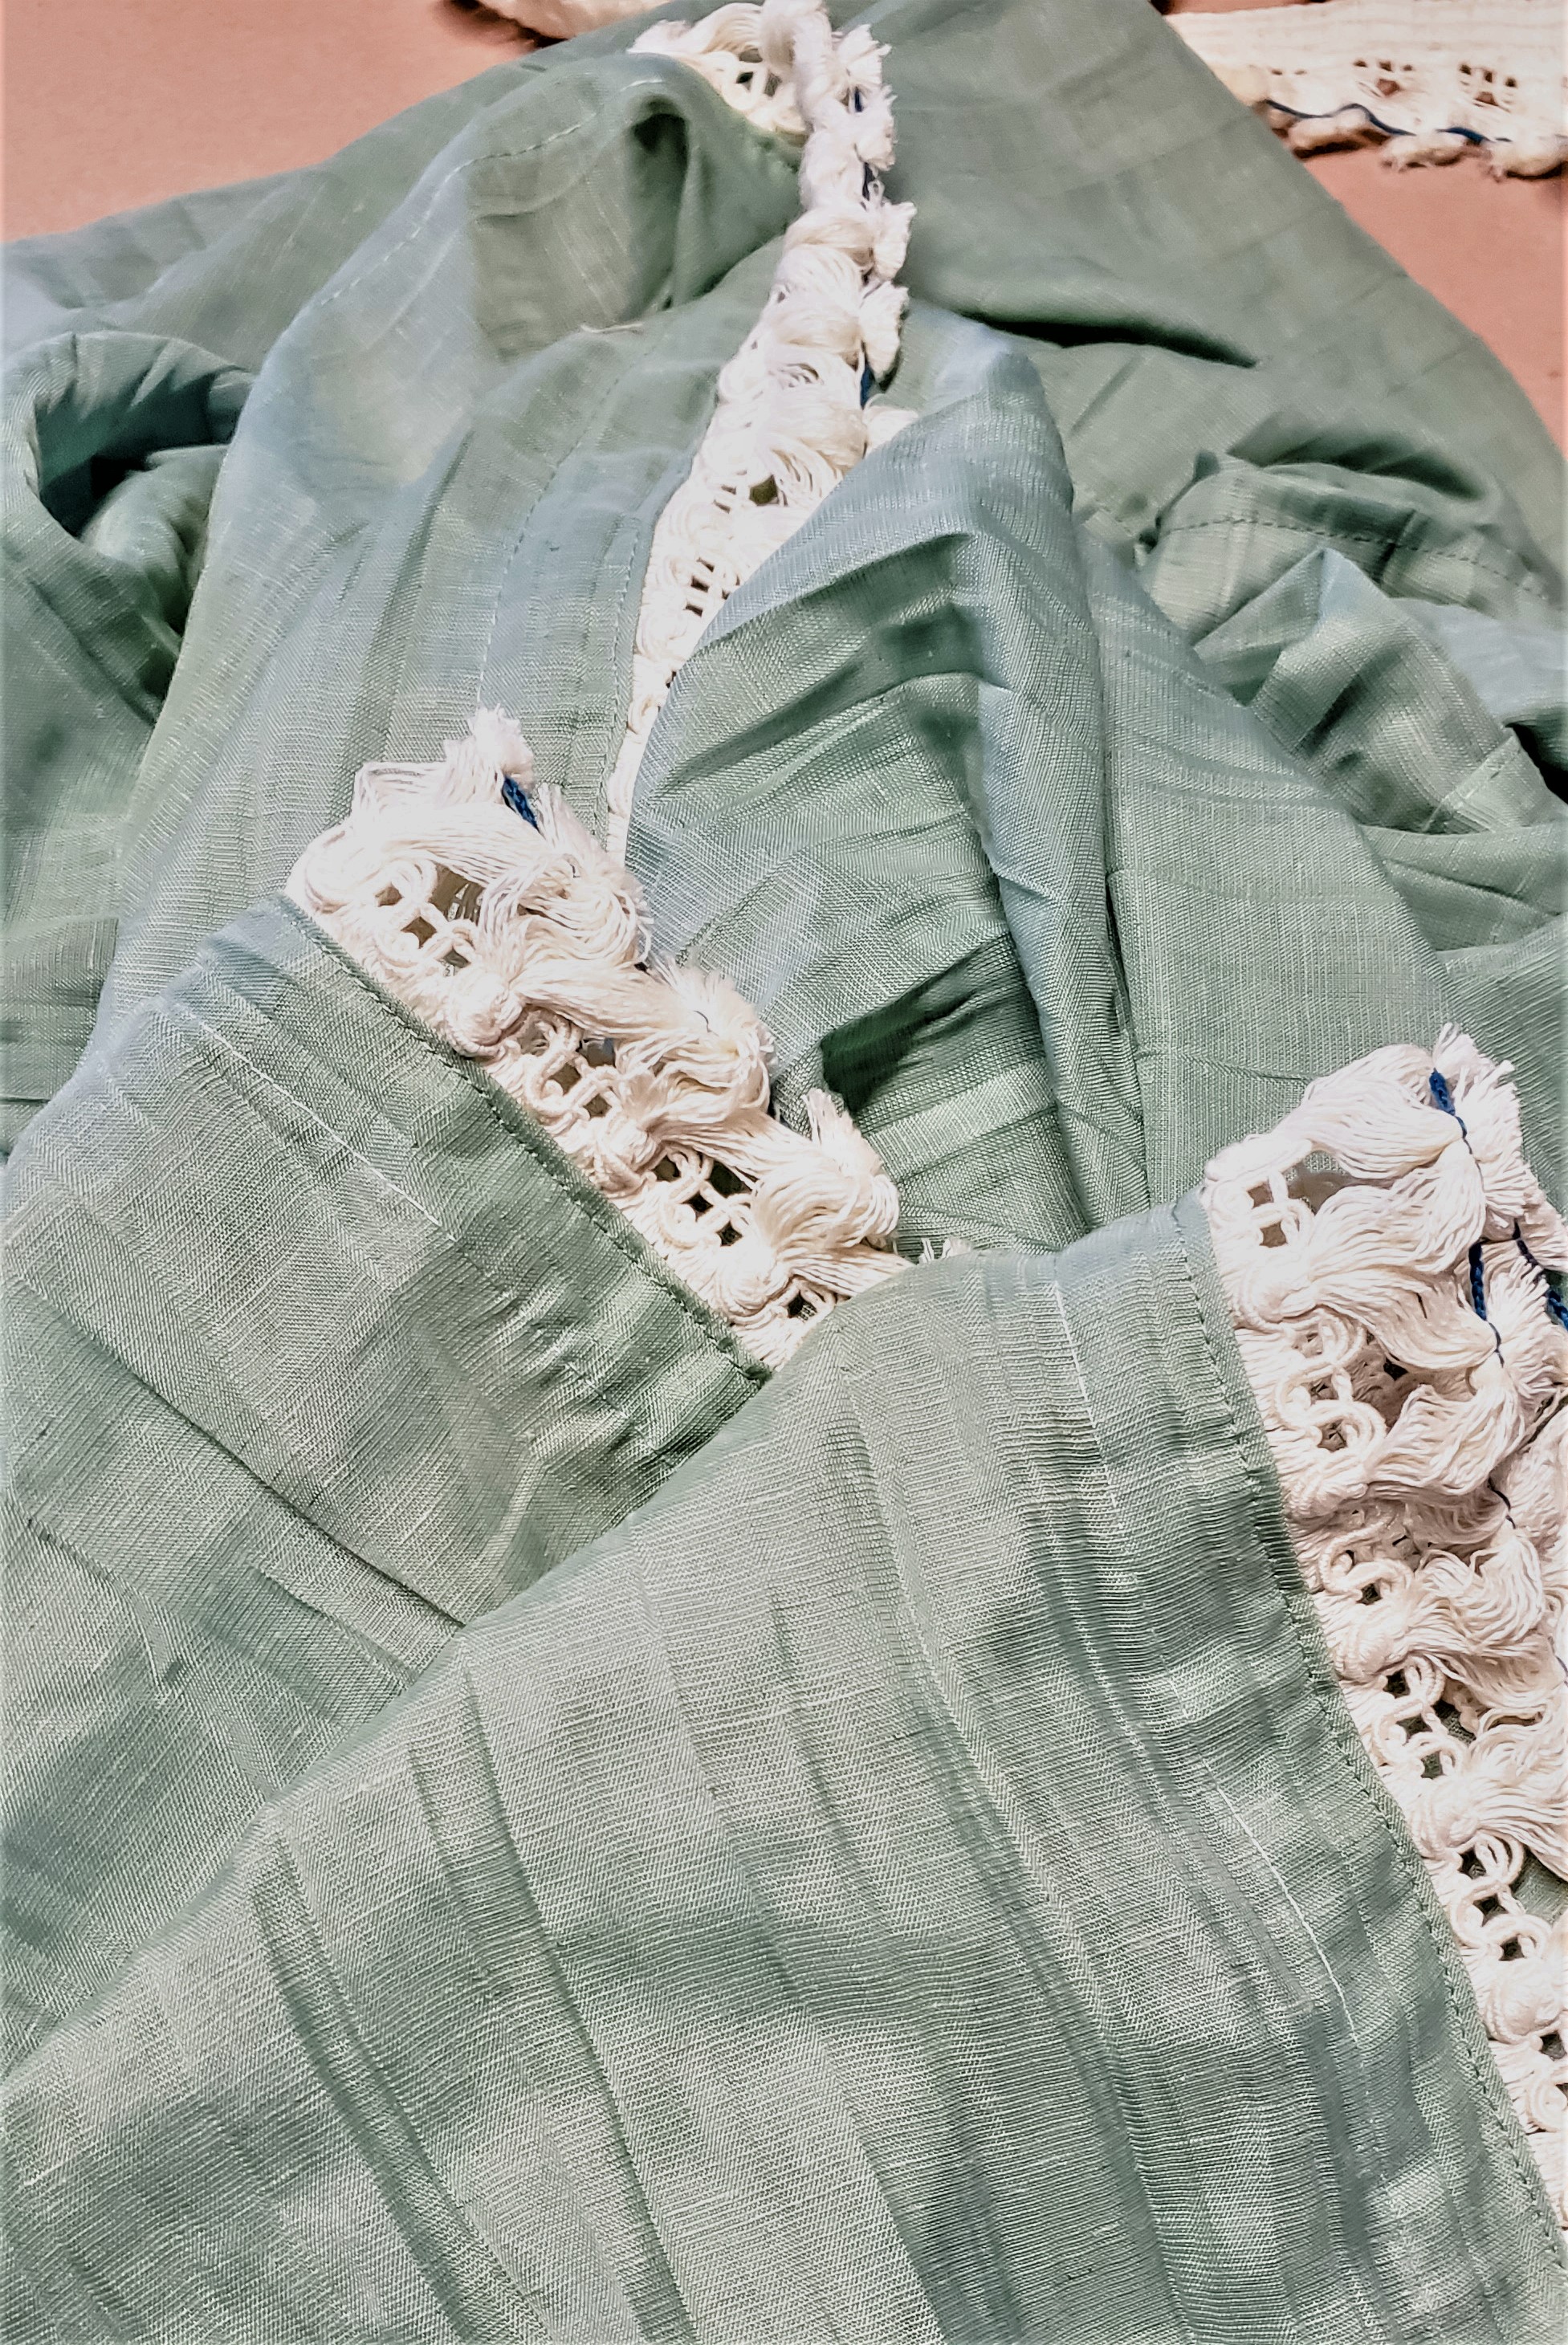
So, I purchased some Boho-friendly fringe from my local fabric shop and stitched it on along the inside edge of the panels. You will sew this on from the top straight down to the bottom, the only trick is to fold the trim over 1/8″ – 1/4″ one each end and sew back and forth a few times to really tack it down and prevent it from fraying. When you are shopping for fringe, remember the ends of the fringe or tassels are usually strung together. After it’s sewn off, you detach the string from the fringe (grab one end and pull) and your fringe will fluff up!
Now For The Install!
When hanging drapes, I like to place them as high as possible in rooms with 8′ or 9′ ceilings. This draws your eye up, giving the illusion of height. Simply put, anywhere from 6″ above the window or higher will help you achieve this look. If you don’t have crown molding, you can install your drapes as high as the finials on your curtain rod will allow! If you do have crown, install the treatments just under the trim; don’t attach your hardware to your trim.
See the height the panels give the wall in the image below? We installed these as high as the millwork would allow.
Hey skim readers, I love ya! Here’s my conclusion:
- Purchase at least two curtain panels that are your ceiling height or higher.
- Hem each panel so they will hang 6″ or higher (below your crown molding, if applicable) than your window and reach the floor.
- Add trim, decorative tape, beads or something to elevate your panels for a customized look.
Did you have success with this in your home? Do you have questions about your project? Let me know in the comments below. 😄


Leave a comment